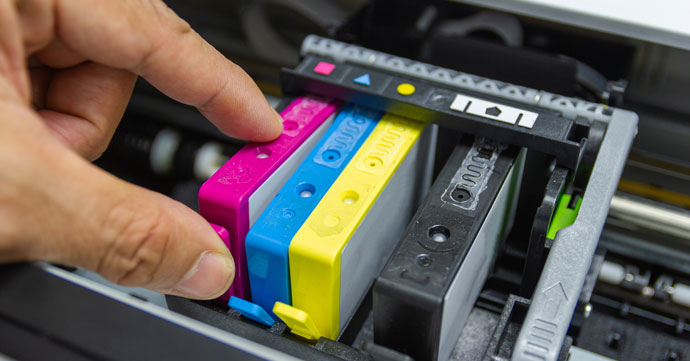
How to Clean Printer Heads
We understand how frustrating it can be when you purchase inks and can’t use them effectively due to an inkjet printer full of clogged up printheads.
Please note: You should only attempt to manually clean printer heads once the printer’s own printhead cleaning process has been carried out either via the printer or the related device.
- What is a Printhead?
- Types of Printhead Blockage
- How Do I Know That I’ve Got a Blocked Printer Head?
- Cleaning Printer Heads
- How to Clean an Epson Printhead
- HP Printhead Cleaning
- How to Clean a Canon Printhead
- Brother Printhead Cleaning
What is a Printhead?
Printheads (or printer heads) are the instruments which direct the ink onto the page. If one of the printheads becomes bunged up with dry ink, printing will soon become inaccurate or at worst – cause damage to the printer itself. It’s important to mention that not all printheads can be found within the printer, as some can be found on the cartridge itself. Checking your printer model is the best way to find out where the printheads are located on your printer.
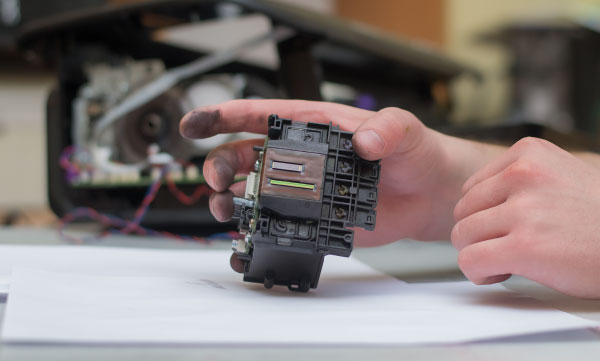
What is a Blocked Printer Head?
There can be a few reasons for printheads not behaving the way they’re supposed to, but the most common cause is infrequent use. This can occur when a printer has been out of action for a while. The excess ink which resides on the tips of the printheads dry up before they are given a chance to be pushed out by a fresh print. For more information, check out our guide to preventing printer ink drying out. Using a printer excessively isn’t advised but actually causes less damage than sporadic usage.
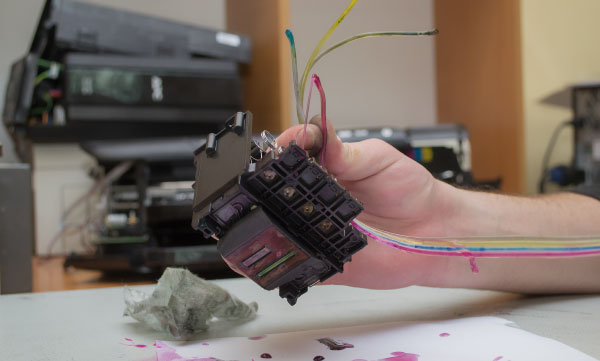
It’s important to note that despite what the major brands claim, using compatible printer ink doesn’t increase the chances of sustaining a blockage. Our Cartridge People Compatible Own Brand inks provide a more affordable alternative to the original product and as a result can be purchased on demand without worry. This can prove to be an ideal option for those who print frequently, which can reduce the chance of blockages.
Types of Printhead Blockage
Here’s more information about the different types of printhead blockage that can occur, so you can identify what needs to be done to resolve the issue.
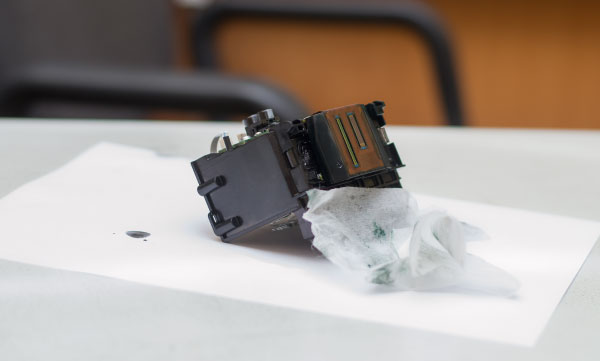
Basic Clogs
Infrequent use can lead to the ink drying out, which then clogs the printer head. Air bubbles can also block the nozzle and cause a clog. Simple to fix, all you need to do to resolve this is run a head cleaning cycle one or two times prior to running a nozzle check. After doing so, if you can still see missing lines on your printouts, simply run the printhead cleaning cycle another time. If you see no improvement after 2-3 cleans, please wait 24 hours before trying again, as excessive cleaning can damage the printhead and make the issue worse. If you attempt to deep clean your printheads, you should also wait 24 hours after 1 deep clean before trying again, for the same reason.
Annoying Clogs
More persistent clogs can be fixed with water (warm) to try to dislodge any dry ink on the nozzle. Windex (or other ammonia-based solvents) can be used to clean printheads more thoroughly if the first method doesn’t work.
Complex Clogs
Higher end inkjet printers use pigment ink which tends to dry out more quickly than standard ink. And while the ultra-microscopic printhead holes help to produce prints with greater levels of detail, they can also clog more often as a result.
How Do I Know That I’ve Got a Blocked Printer Head?
Poor quality prints are usually the first indication that you may have a blocked printhead. The problem can be confirmed by carrying out a nozzle check. This check will print out a sheet with a spectrum of colours. Each of the colours represents an individual printhead inside the machine, if a colour is fainter than it should be, then the particular head it represents is more than likely blocked.
In order to perform a nozzle check, you simply need to access the printer’s software options (usually via the Properties menu) and click Nozzle Check/Print Head Check/Nozzle Test or the equivalent of and await the printout. From there you will be able to get confirmation as to whether there is an issue with the printheads.
Cleaning Printer Heads
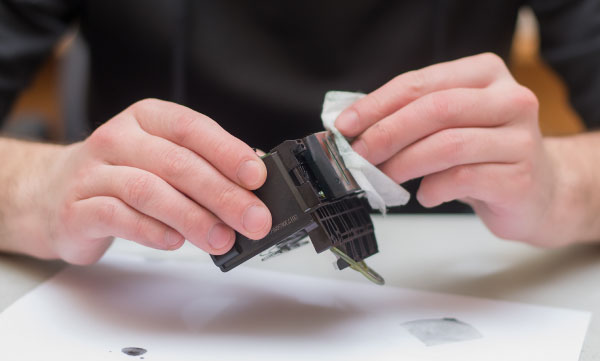
So you have become suspicious about the faint printouts you’ve been getting and the nozzle check has confirmed a blockage. From there, you will need to clean the printhead and remove the blockage through one of two ways – the procedural method or the manual method.
As standard, all manufacturers will recommend a ‘deep clean’. In order to carry this out, you will need to access the printer options menu once more. Performing nozzle checks after each deep clean is the best way to see if the operation has unclogged the heads.
Note: Be aware that any more than three consecutive deep cleans could damage the machine. Please wait 24 hours after performing 1 deep clean before trying again. Please also note that cleaning printheads too many times can make the situation worse.
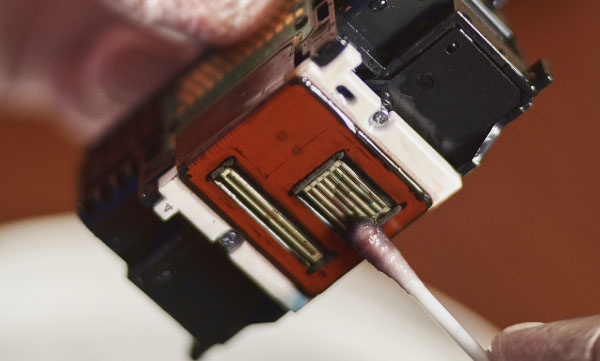
Manually cleaning the printhead is done at the user’s own risk, as it could void the warranty. However, it’s a very popular printhead cleaning method and printer cleaning kits are available to help you. Cleaning cartridges are available from Cartridge People for certain printer models.
How to Clean an Epson Printhead
Epson printheads are found on a fixed carriage. To clean them you’ll need to:
- Either print a page or run a cleaning cycle and unplug while it’s in the middle of doing so. This ensures that your Epson printheads are in the correct position.
- Take ink cartridges out of the printer.
- Move the printheads to the middle of the printer while placing a folded paper towel underneath them.
- Taking a syringe of cleaning solution, connect a rubber transfer tube to the syringe’s tip.
- Attach the other end of the transfer tube to the ink ports, (you’ll find them behind the cartridges).
- Slowly and carefully pump the cleaning solution through the ink port and stop when you see liquid on the paper towel.
- Repeat these steps for each colour ink cartridge.
- Place the ink cartridges back into the printer and restart it.
- Print a printer test page. Repeat these steps if it hasn’t worked.
Another option is to place your tube of printhead cleaner into a hot water bowl. Warmed up cleaning solution should make cleaning Epson printheads easier. Cleaning cartridges are available from Cartridge People for certain models of Epson printer.
HP Printhead Cleaning
HP printheads can be found either on the ink cartridges themselves (for printers that use 2 cartridges) or on a fixed printhead in the machine (for printers that use 4 or more cartridges). Some HP printers have removable printheads. Please check your printer manual to find out what type of printheads your printer uses.
To clean printheads located on the ink cartridge, carry out the following steps:
- Remove the ink cartridges from your HP printer.
- Soak a paper towel with distilled water or isopropyl printer cleaning fluid and place the towel on a shallow plate.
- Slowly place the underside of the cartridges onto the wet paper towel and let them sit for 5 minutes. This should loosen any ink that’s clogged or dried out.
- To dry the cartridge, blot it with a clean paper towel and then place the ink cartridge back into the printer.
Cleaning cartridges are available from Cartridge People for certain models of HP printer.
How to Clean a Canon Printhead
It’s important to note that not all Canon printers have removable printheads, most do, but not all, so please check your printer manual before cleaning. Canon printers that use 4 or more cartridges will have a fixed printhead. Check the manual to see if they can be removed. There are also certain Canon printers that use 2 ink cartridges and for these printers the printhead can be found on the cartridges themselves.
- Turn off the printer and unplug it.
- Open the printer’s lid and move the ink cartridge carrier to the centre of the machine.
- Remove the ink cartridges.
- Hold the front of the printhead, which can be found at the back of the strip with 4 ink colours. Push the printhead assembly to the right and then pull it forward.
- Remove the carriage from the printer.
- Rinse the printer heads with a cleaning solution.
- You can also use a syringe and hose from a printhead cleaning kit to remove persistent clogs. Alternatively, we offer cleaning cartridges for certain Canon printer models. Check out our website for more information.
Cleaning cartridges are available from Cartridge People for certain models of Canon printer.
Brother Printhead Cleaning
On Brother printers, printheads can be found attached to a fixed carrier. To clean them:
- Carry out a print cleaning cycle. When the carriage has moved to the middle of the printer, unplug it from the wall. This will turn the machine off, making the printheads easy to access from the middle of the printer.
- Place a piece of paper towel that’s been folded up underneath the printheads.
- Find a rubber tube and a small syringe.
- Open the front panel of the printer.
- Remove the ink cartridges and you’ll be able to see the ink port at the back of each ink cartridge.
- Half fill a syringe with cleaning solution.
- Connect the end of the tube to the ink port that needs to be cleaned.
- Slowly and carefully push the cleaning solution through the ink ports. You should see dried ink spots and liquid on the paper towel that you placed under the ink carriage.
- Once all the printheads have been cleaned, plug the printer back in and carry out a standard cleaning cycle.
Cleaning cartridges are available from Cartridge People for certain models of Brother printer.
To Sum Up
It’s important to keep printheads clean, so your printer can continue to produce high-quality prints and waste less ink on sub-par prints you can’t use. To avoid printhead blockages, run your printer’s clean printhead feature once a month and try to avoid prolonged periods of inactivity. The steps above have been designed for the most popular manufacturers, but if you need any advice for other manufacturers please contact us. Need more information about common printer terms? Check out our Printing Glossary.


