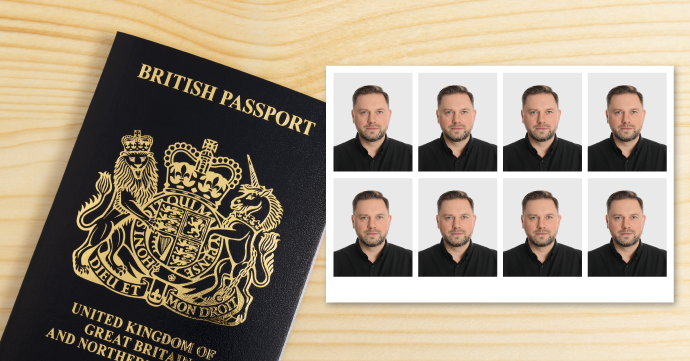
How to Print Passport Photos
Printing your own passport photo at home is a simple and convenient process that can save you money. Here we’ll guide you through the process of taking and printing a passport size photo. You’ll find all the information you need to print a passport photo, from requirements to step-by-step instructions.
Please Note: Consult the official requirements for printed passport photos before sending off your photos to prevent issues.
- Why Print Your Own Passport Photos?
- Passport Photo Requirements
- Taking a Passport Photo at Home
- Passport Photo Printing (How to Print a Passport Size Photo)
- Final Checks and Tips
- Additional Resources & FAQs
Why Print Your Own Passport Photos?
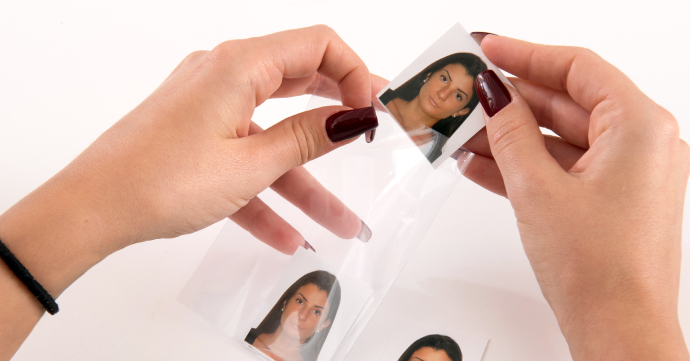
- Save Money: Provided you use affordable printer ink and paper, printing your own passport photo can work out cheaper than professional photo printing services or photo booths.
- Convenience: Take a passport photo from the comfort of your own home.
- Quality Control: You can have as many attempts as you need before you’re satisfied with the result and that it meets official requirements.
- Immediacy: Produce the photo immediately without having to wait for a service provider.
- Privacy: This method means you don’t have to share your image with a third party.
Print or Upload?
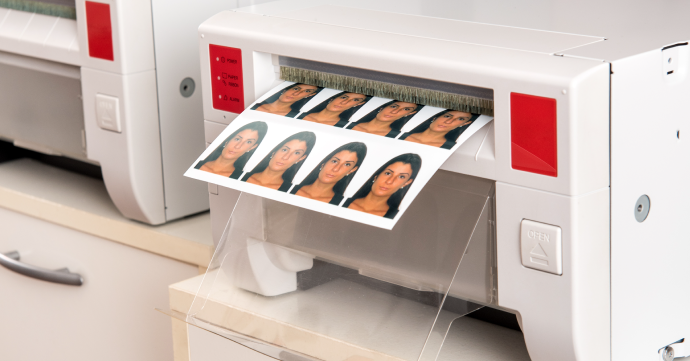
There are several practical reasons to print your own passport photo instead of uploading it online. These range from better quality control to avoiding technical issues caused by file size limitations, file format requirements or a slow internet connection.
What You’ll Need to Print a Passport Photo
- Camera or smartphone with a good resolution
- Ink
- Printer
- Photo paper (plain white borderless photo paper)
- Scissors
Passport Photo Requirements
The first step is to make sure you’re aware of official guidelines for passport photos. Compliance with these guidelines will help you to avoid rejections and save you time and effort in the long run.
Common Requirements

- 2 identical printed colour photos.
- No tears or creases and unmarked on both sides of the photo (except in the case of a countersignature).
- Image of your whole head and the tops of your shoulders.
- No other people or objects should be in the photo.
- Passport Photo Dimensions: (35mm wide x 45mm high for British passports).
- Background Colour: Light grey or plain cream.
- Photo Quality: Photos should have a high resolution, be clear, in focus, with no shadows or pixelation.
- Head Position: Your head should be centred, looking directly at the camera and facing forward. The distance between the crown of your head and your chin needs to be 29mm – 34mm high.
- You should have a neutral expression with your eyes open and your mouth closed.
- No hair in front of your eyes.
- Even lighting, with no shadows or red-eye.
- If you need to wear glasses for your photo, ensure there’s no glare, shadow or reflection as your eyes must be fully visible.
- Head coverings can be worn only for religious or medical reasons and your face must be fully visible.
- The photo must have been taken within the last month.
Taking a Passport Photo at Home
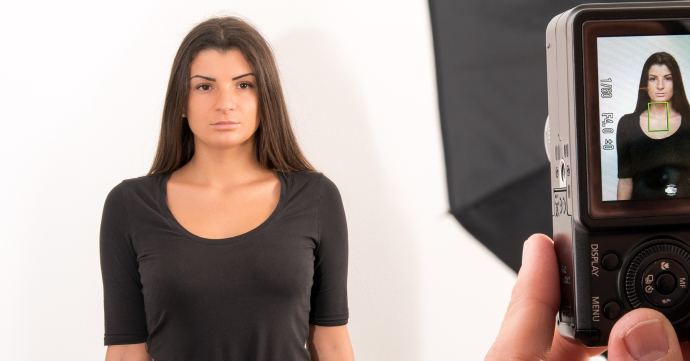
In order to take your own passport photo you’ll need a camera/smartphone with a good resolution, a tripod or stable surface on which to place your camera and finally a plain, light coloured background.
Step-by-Step Guide:
1. Setting up the background and lighting: Choose a plain, light coloured background that doesn’t have any patterns or textures.
Lighting: Try to use natural light and face a window. If you need to use artificial light, set up two lamps at 45-degree angles to yourself to avoid shadows on your face and in the background. Make sure the lighting is even across your face and eliminate any shadows before you take your photo.
2. Position the camera at eye level, this will prevent distortions in your photo. Stand about 1.5 metres (5 feet) away from the camera. Keep the camera steady (you may need to use a tripod or place the camera on a stable surface).
3. Take multiple photos: This is one of the benefits of taking your own passport photo, you can take as much time as you need to get the perfect image! Review each image to check the quality and that it meets official requirements.
Passport Photo Printing (How to Print a Passport Size Photo)
So you’ve taken your photo, now it’s time to learn how to print passport photos.
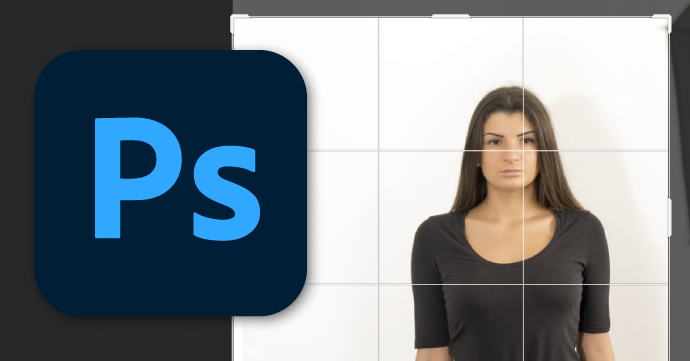
Now you need to make sure your image follows official requirements. There are numerous pieces of software you can use to do so. There’s free options such as GIMP, Pixlr and Fotor or paid options like Adobe Photoshop and Lightroom. Use this software to give your photo the correct dimensions (35 x 45mm for British passports) but be sure to leave the image itself unchanged.
Make sure your printer has a high resolution (inkjet printers tend to be better for this) and use high-quality glossy photo paper. Set the printer settings to the highest quality and the correct paper type. You could even print a test photo and adjust the settings afterwards. Adjust the following settings as necessary:
- Print Quality: Set to the highest possible resolution (‘Best’, ‘High Quality’).
- Paper Type: Choose ‘Photo Paper’ or the specific type of photo paper you’re using (‘glossy’).
- Colour Mode
- Paper Size: Make sure the paper size setting matches what you’re using.
- Select ‘Portrait’ orientation.
- Scaling: Set to 100% (no scaling) to keep the photo’s dimensions correct.
- Border: To avoid unwanted white edges, select the ‘Borderless Printing’ option.
- Ink: Check ink levels are sufficient to avoid fading or colour inconsistencies.
Once you’ve checked these settings, the only thing that’s left is to print your photo!
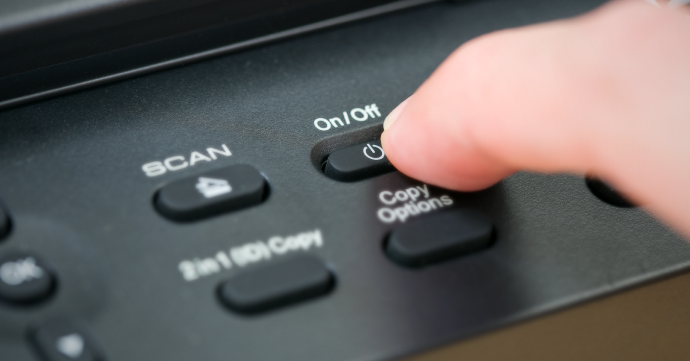
Note: Be sure to let your printed passport photo dry completely before touching it.
Final Checks and Tips
Check your passport photo prints to make sure they comply with guidelines. Be sure to check the clarity and dimensions are right. Then trim the photo to the required size if you need to.
Common mistakes to avoid when printing passport photos include:
- Incorrect Dimensions: British passport photos should be 35mm wide x 45mm high.
- Poor photo quality (blurry or pixelated).
- Background not uniform.
To avoid these issues and to ensure you take and print the perfect passport photo, take your time with each step of the process, reviewing official guidelines and getting a second opinion on the final photo.
To Sum Up
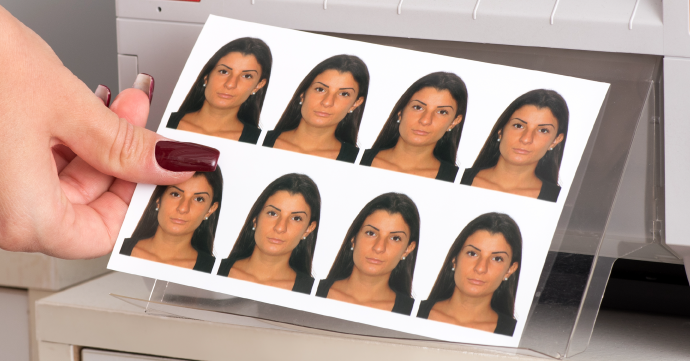
From taking the photo to printing it out, you should now know everything you need to know about passport photo printing. Printing a compliant passport photo is hassle free provided you follow the guidelines and pay close attention to the details. Jetting off somewhere nice? Now you can sort out your passport photo from the comfort of your own home!


